Adding custom field to a product guide
Custom Fields allow users to capture additional information that may be required when managing a loan product. They can be used to collect specific information that is not available in the standard loan-product fields.
Step 1: Open the Products Module
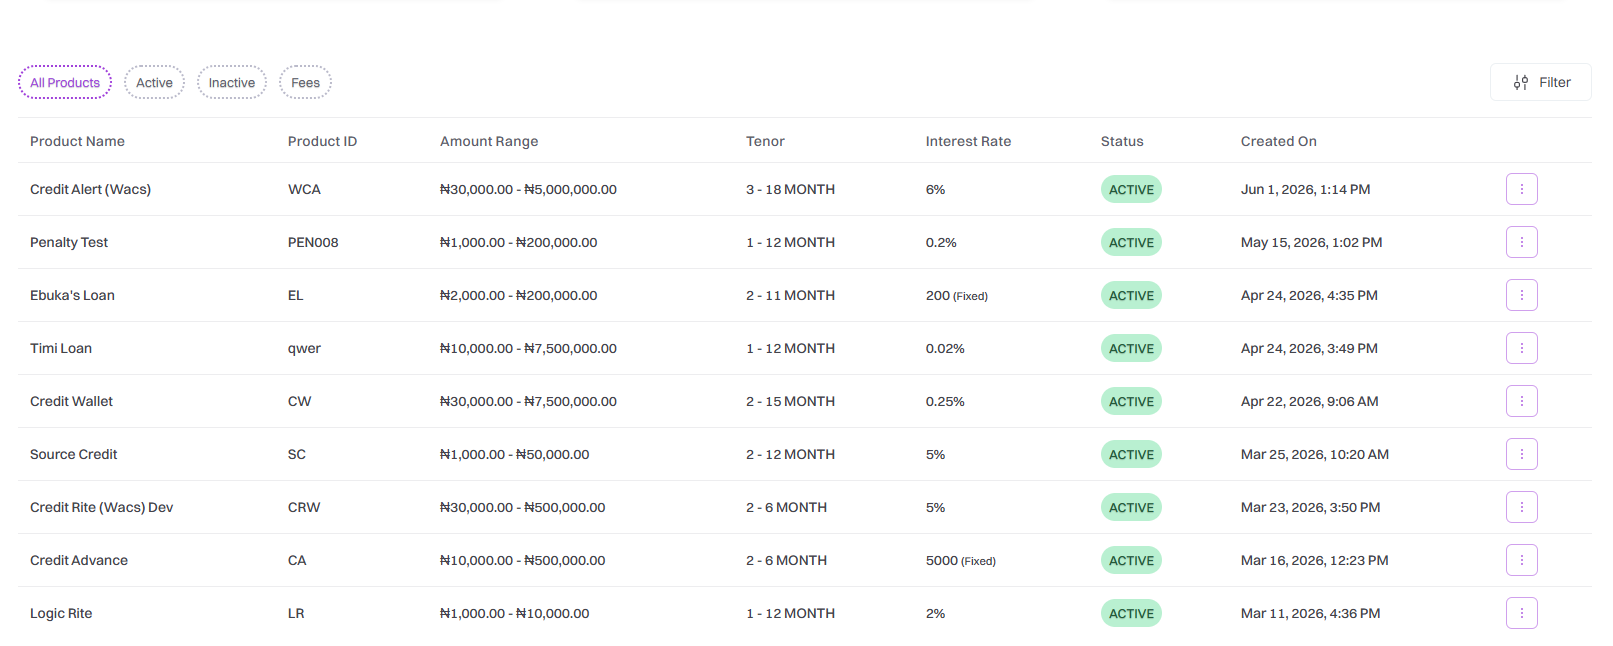
From the Caltos dashboard, locate the Products option on the navigation menu and click it.You will be redirected to the Products page, where you can view and manage the loan products available on your platform.
Step 2: Select the Loan Product
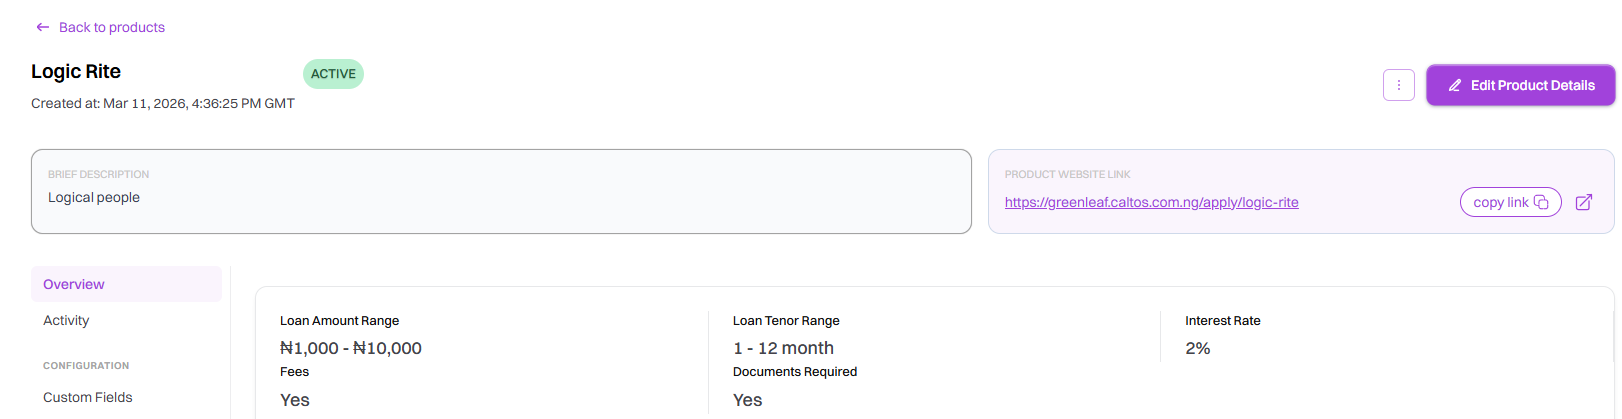
From the list of available loan products, locate the product you want to add a custom field to. Click on the loan product to open its details, you will be taken to the loan product details page, where you can view and manage the product's configuration.
Step 3: Select the Custom Fields Tab
On the loan product details page, locate the Custom Fields tab and click it.
The Custom Fields section displays the additional fields currently available to be configured.
Step 4: Add a Custom Field
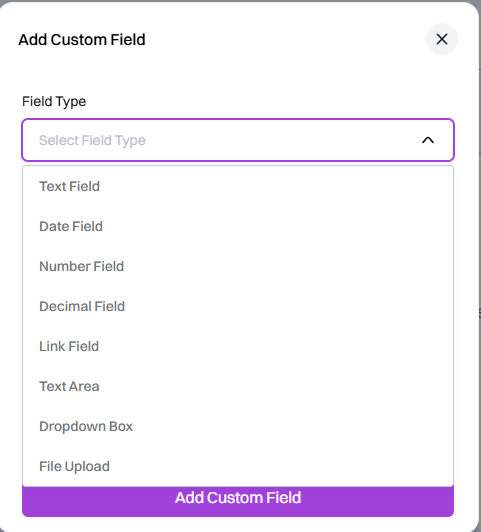
In this step, click the Add Custom Field button to create a new custom field.
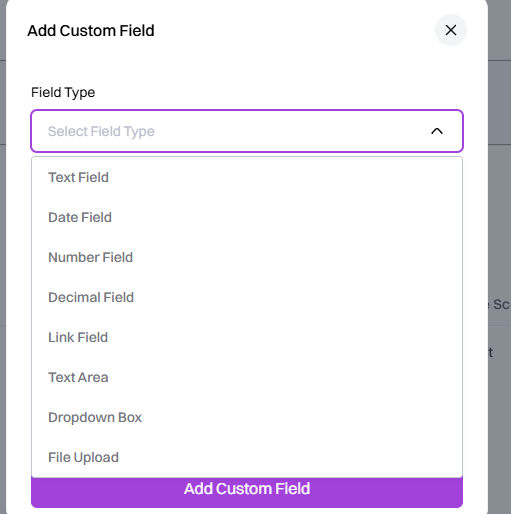
A dropdown will appear where you can select new custom field and define how the custom field should work.
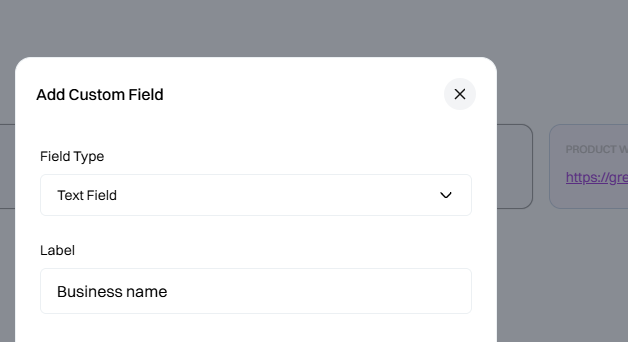
Step 5: Enter the Custom Field Name
In this step enter a clear and descriptive name for the information you want to capture.
For example, if you want to collect the borrower's business location, enter Business Location as the field name.
Use a name that clearly communicates the information the field is intended to capture.
Step 6: Save the Custom Field
Review the information entered and select "Add custom field"
The custom field will be added to the loan product and will be available wherever the product's custom-field information is captured.